Starting a small herb garden indoors is a rewarding way to enjoy fresh flavors in your cooking while adding a touch of greenery to your home. Whether you have a spacious kitchen or just a small windowsill, growing herbs indoors can be a fun and practical hobby. In this guide, we’ll walk you through everything you need to know to set up your own indoor herb garden successfully.
Why Grow Herbs Indoors?
Indoor herb gardening offers several benefits:
– Year-round access to fresh herbs, regardless of outdoor weather.
– Space-saving for those without yard or garden space.
– Improved air quality and indoor aesthetics.
– Cost savings by reducing store-bought herb purchases.
– Convenience of having herbs at your fingertips when cooking.
With the right care, indoor herbs can thrive and provide you with delicious seasoning all year long.
Choosing Herbs for Your Indoor Garden
Some herbs are better suited for indoor growth than others. Here are some popular herbs that generally do well inside:
– Basil: Loves warm, sunny spots.
– Parsley: Can tolerate moderate light and cooler temps.
– Thyme: Requires plenty of sunlight and well-drained soil.
– Mint: Grows quickly and can thrive in lower light, but keep it contained as it spreads fast.
– Chives: Easy to grow and good for beginners.
– Cilantro: Prefers cooler temperatures but needs good light.
Consider your cooking preferences and the light conditions in your home when selecting herbs.
Step 1: Picking the Perfect Location
Herbs need adequate light to grow well. Most require 6-8 hours of sunlight daily.
– Choose a south-facing window if possible.
– A windowsill or a countertop near a window often works well.
– If natural light is limited, consider using grow lights designed for plants.
Keep in mind indoor temperatures should ideally stay between 65–75°F (18–24°C) for most herbs.
Step 2: Choosing Containers and Soil
Containers
Herbs can be grown in various types of containers, such as:
– Clay or ceramic pots with drainage holes
– Plastic pots (make sure they have holes)
– Recycled containers repurposed as pots (just ensure drainage)
Drainage is essential to prevent water from pooling and causing root rot.
Soil
Use a high-quality potting soil formulated for indoor plants or herbs. Avoid garden soil, which is often too dense for container growing.
To improve drainage, you can mix soil with a bit of perlite or sand.
Step 3: Planting Your Herbs
You can start your herb garden in one of two ways:
– Seeds: More economical but slower to start. Follow seed packet instructions for planting depth and spacing.
– Starter plants: Purchase young herb plants from nurseries or garden centers for instant greenery and faster results.
When planting:
– Fill your pots with soil, leaving about an inch from the rim.
– If using seeds, lightly press them on top or cover according to package guidelines.
– If transplanting starter plants, gently loosen roots and plant them at the same soil depth they were growing in their nursery pots.
Water the soil lightly after planting.
Step 4: Watering and Feeding Your Herbs
Watering
Herbs prefer soil that is moist but not soggy.
– Water when the top inch of soil feels dry to the touch.
– Avoid overwatering, as this can lead to root rot.
– Ensure your containers drain well.
Feeding
Indoor herbs benefit from occasional feeding with a diluted liquid fertilizer.
– Use a balanced fertilizer (10-10-10 or 20-20-20)
– Feed once every 4-6 weeks during the growing season
– Follow package instructions carefully to avoid over-fertilizing
Step 5: Caring and Harvesting Your Herbs
Caring Tips
– Regularly trim herbs to encourage bushier growth.
– Watch for pests such as aphids or spider mites and remove them promptly.
– Rotate plants occasionally so that all sides get light evenly.
Harvesting
– Use scissors or garden shears to snip leaves and stems.
– Harvest in the morning for best flavor.
– Avoid removing more than one-third of the plant at a time to allow continued growth.
Troubleshooting Common Issues
– Yellow or wilted leaves: May indicate overwatering or poor drainage.
– Leggy growth: Often caused by insufficient light; move plants to a sunnier spot or supplement with grow lights.
– Slow growth: Could be due to low nutrients or temperature stress.
– Pests: Wipe leaves, use insecticidal soap, or introduce natural predators if feasible.
Tips for Success
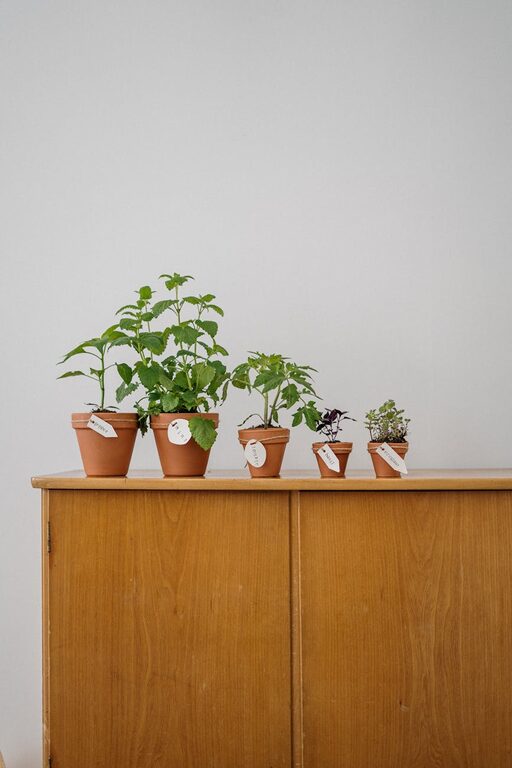
– Label your herbs to keep track of them.
– Group plants with similar light and watering needs together.
– Clean leaves occasionally to remove dust.
– Experiment with different herbs to find your favorites.
Conclusion
Starting an indoor herb garden is a satisfying and practical project that anyone can enjoy. With a little planning and care, you can grow fresh herbs year-round, brightening your home and enhancing your meals. Whether you’re a beginner or have a green thumb, an indoor herb garden is a lovely way to connect with nature inside your space.
Happy gardening!